

Glazed donut nails diy at home have become the top beauty trend for getting salon-quality shine on a budget. If you want Hailey Bieber’s viral glazed nails but refuse to overpay at the salon, this step-by-step guide will show you exactly how to do both gel and regular polish glazed donut nails at home, with realistic product picks and troubleshooting for every skill level.
Key Takeaways
- Get the iconic Hailey Bieber glazed effect at home using affordable kits for both gel and regular polish—no pro tools or training needed.
- Chrome/pearl powder ($4–$12) and a one-time lamp ($20–$50) bring stunning sheen for under $10 per manicure after your first investment.
- Prep, thin coats, edge-sealing, and encapsulation are essential for results that last, whether you use gel or regular products.
- What the “glazed donut” look is and why it’s trending
- Glazed Donut Nails DIY at Home: Step-by-Step Guide
- Advanced Analysis & Common Pitfalls
- Conclusion
- FAQs
What the “glazed donut” look is and why it’s trending
The glazed donut manicure—also known as “Hailey Bieber nails”—means a sheer milky base with a reflective, pearly chrome powder rubbed on top. This gives the nails a soft glow that looks glossy, healthy, and expensive. In 2024, “glazed donut” nails stayed a top nail trend, evolving to pink, nude, and even mocha/chocolate finishes for every skin tone (source).
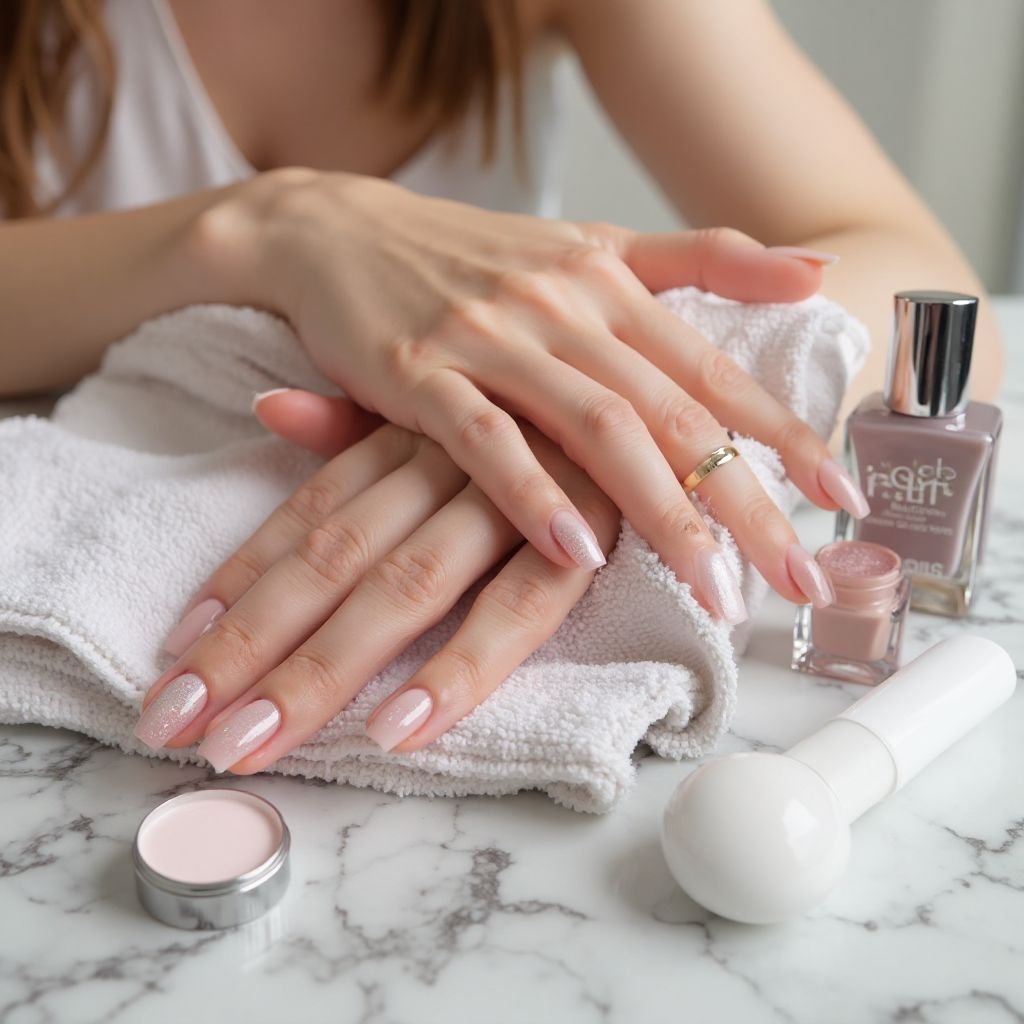
You can achieve this look with regular polish (quick and accessible) or gel (for a longer-lasting, ultra-glossy effect). Choose gel for durability and pro gloss, or regular if you want easy removal.
Glazed Donut Nails DIY at Home: Step-by-Step Guide
Here’s exactly how to recreate glazed donut nails at home—both as a long-wear gel manicure and as a no-lamp, regular polish option.
Gel Method: Ultimate Glazed Shine
- Shape nails, buff gently, and push back cuticles (use a fine glass or soft nail file for best results).
- Apply OPI GelColor Stay Strong base coat. Cure 60 seconds in UV/LED lamp.
- Apply 1–2 thin coats of OPI GelColor Funny Bunny (milky sheer) and cure each coat for 60 seconds.
- Apply non-wipe top coat. Cure 60 seconds.
- Using an eyeshadow applicator, rub a tiny amount of OPI Tin Man Can or any white pearl chrome powder onto each nail right after curing the non-wipe top.
- Cure again—10 to 15 seconds max. Dust away excess powder.
- Encapsulate: Apply a thin layer of clear builder gel (e.g., Kokoist clear builder). Cure 60 seconds.
- Finish with a final coat of non-wipe glossy top coat. Cure 60 seconds.
- Seal free edge with top coat to prevent tip wear (“edge wrapping”).
- For long nails, gently “build an apex” with builder gel for strength (source).
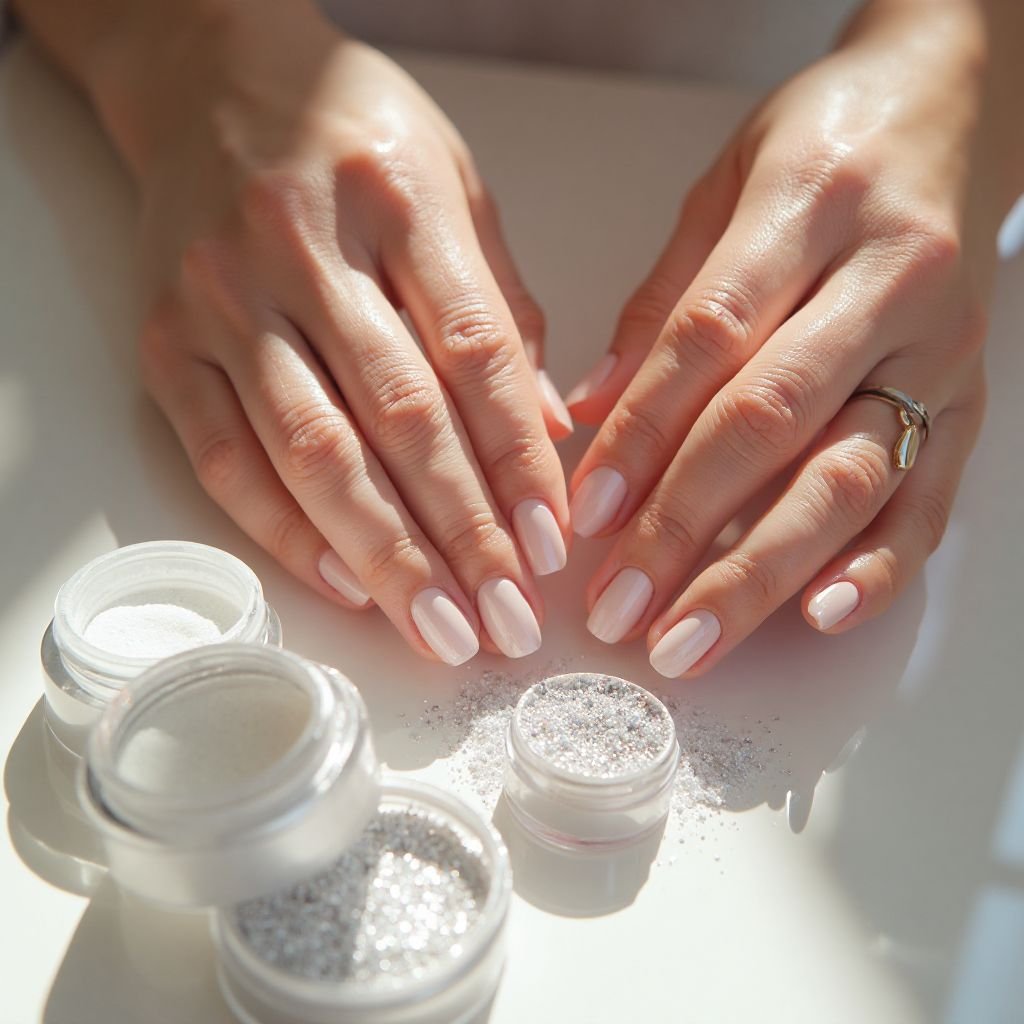
Budget tip: Chrome powder costs only $4-$12 a jar and will last dozens of uses; a good lamp is a one-time $20–$50 spend (source).
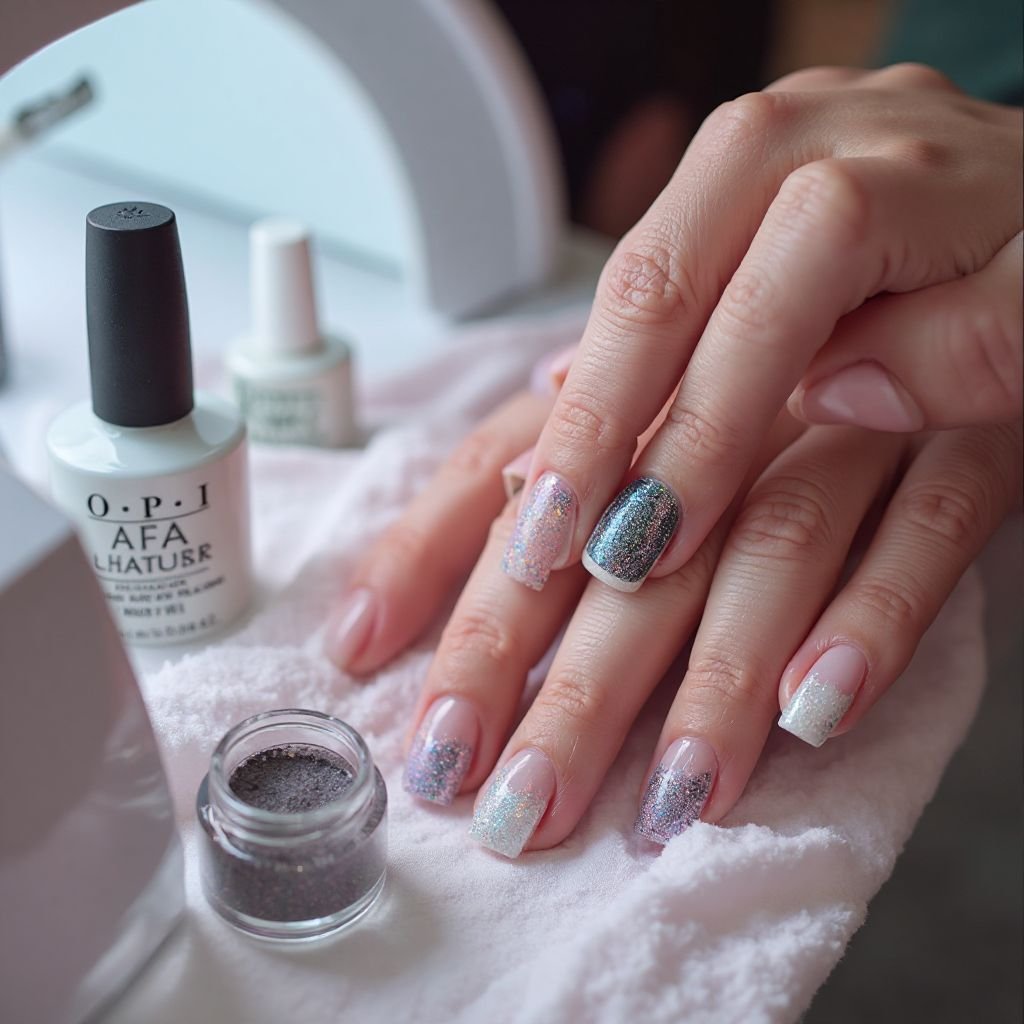
Regular Polish Method: No Lamp Needed
- Prep nails as above.
- Apply Olive & June Ridge Filler for a smooth surface.
- Apply one thin coat of Olive & June BEB (sheer white).
- Add a single swipe of Pink Goldfish or Nail Brightener (subtle pink/nude topper).
- If you have pearlescent chrome powder for regular polish, let nails dry slightly, buff GENTLY, then lightly rub powder on. Otherwise, use a glow-effect topper polish.
- Seal with a strong, glossy top coat like Essie Gel Couture or Seche Vite. Let dry completely.
You’ll get slightly less “chrome” than gel, but it’s perfect for quicker, easy-off looks (see source).
Want even more budget DIY tips for pro results? Try a full kit: see our Best Gel Nail Kit for Beginners roundup.
Advanced Analysis & Common Pitfalls
Even experienced DIYers run into trouble with glazed nails. Here’s how to avoid the most common mistakes—and fix them if they happen:
| Problem | Cause | Fix |
|---|---|---|
| Uneven/patchy chrome effect | Surface not smooth; no ridge filler/base | Always buff; use ridge filler (regular) or quality gel base |
| Chrome powder flakes or peels | No non-wipe top coat or powder not encapsulated | Use non-wipe top and encapsulate with builder gel |
| Bubbling or ripples | Coats too thick or uncured base | Apply thin layers; cure/dry fully between each |
| Chipping at tips or lifting | No edge seal; hurried dry/cure | Wrap top coat over free edge; allow full cure/dry |
| Dull finish (not glossy) | Wrong or old top coat; under-buffed powder | Use high-gloss non-wipe gel or quality top coat ("see top coats that last" here) |
Products matter: Cheaper powders are often harder to apply, and generic top coats lose shine. For sensitive nails, see non-drying polish removers to protect hands during removal.
Conclusion
Salon-perfect glazed donut nails are possible at home for a fraction of the cost. Master the gel or regular polish method with the right prep, products, and powder tricks—so you get that reflective “Hailey Bieber nails” finish every time. Ready to try glazed donut nails diy at home? Gather your kit and follow our step-by-step for flawless, durable shine. If you want more pro nail hacks, check out our reviews for the best nail files and nail wrap kits for beginners.
Get glowing—share your finished nails in the comments or explore more real product reviews here.
FAQs
Can I do glazed donut nails on short nails?
Absolutely. Glazed nails look just as good on short or mid-length nails. For shade ideas, see our best nail polish for short nails guide.
How long should I wait before washing dishes or showering?
For gel: after your final cure, you’re basically set. For regular polish, wait at least 2 hours or overnight to ensure your top coat is fully hardened.
Which chrome powder is best for pale or deep skin?
Pearl white chrome works on all tones. For warmth, try a rose or champagne chrome for pale skin, or mocha/chocolate variations for deeper tones.
How does the cost of at-home glazed donut nails compare to the salon?
DIY initial kit (lamp, powder, polishes) is $50–$100 upfront, then $5–$10 per set. The salon averages $30–$65 for each visit (see data).
How long does the at-home glazed donut manicure last?
Gel usually wears 2–4 weeks (with good prep/encapsulation); regular polish lasts 5–10 days with proper sealing and a hard-wearing top coat.