

How to remove gel nails at home without damage is a question every DIY enthusiast faces at some point, but one wrong move can leave your nails brittle, flaky, or even infected. If you love salon-perfect gel but want healthier nails, here’s a safe, step-by-step breakdown—no shortcuts or harsh scraping.
Key Takeaways
- Acetone removal is fast but risks nail dryness and dehydration; follow proper prep and aftercare for best results.
- Remover kits and foil wraps reduce scraping and minimize nail plate damage compared to manual peeling.
- Avoid peeling or forceful removal—this causes lasting weakness; always switch to a soak-off or consult a pro if needed.
- Why safe gel nail removal matters (quick overview)
- Quick decision guide — which removal method is right for you
- Step-by-step: Acetone soak-off method (safe detailed routine)
- Step-by-step: Using a gel nail remover kit or foil wraps
- Step-by-step: Peel-off gels — how to remove them safely
- Acetone-free and gentle alternatives — what works and what’s hype
- Comparison: efficiency vs nail health
- Tools supplies and what good gel nail remover kits include — plus 2024 price expectations
- Risks and common complaints — what can go wrong (and how to avoid it)
- Aftercare to restore nail health (immediate and 2–4 week program)
- Common mistakes to avoid (actionable dos and don’ts)
- When to stop DIY and see a professional or dermatologist
- What top-ranking how‑to articles miss (3 specific gaps you must cover)
- FAQ
Why safe gel nail removal matters (quick overview)
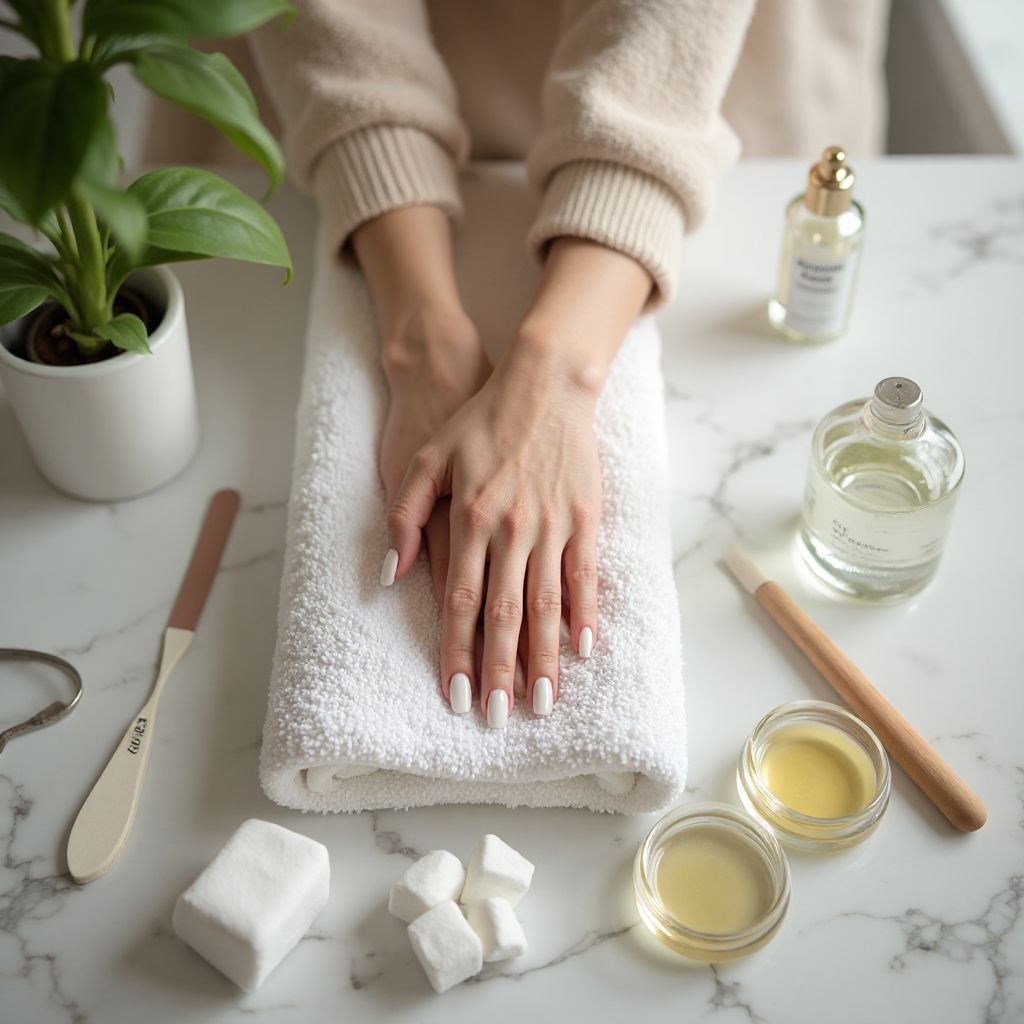
Safe gel nail removal protects your natural nails from dehydration, brittleness, and even infection. Improper removal—like scraping or peeling—can damage the nail plate, cause dermatitis, and leave you with weak, breaking nails for weeks. According to research, “Acetone removal causes nail dryness, brittleness, and dehydration of the nail bed and cuticles; common issues include irritant contact dermatitis, rashes, nail discoloration, and dry cracked nails — and prolonged acetone soaking leads to brittle, peeling, and breakage-prone nails.” [Source]
Quick decision guide — which removal method is right for you
Not every method works for every gel manicure. Start by answering these:
- What type of gel did you use? Soak-off, peel-off, or hard gel?
- How much time do you have? Acetone soak-off takes 10–20 minutes, while peel-off is faster but riskier.
- How sensitive are your nails or cuticles? Acetone is drying—consider alternatives if your skin is prone to dryness or irritation.
- Are your nails thin or have previous damage? Avoid peeling or scraping; go for the gentlest approach.
According to research, “Soak-off with acetone is efficient (10–20 minutes) but dehydrates nails; peel-off is quicker for removal but risks higher damage from manual peeling.” [Source]
Step-by-step: Acetone soak-off method (safe detailed routine)
- File the Topcoat: Gently buff off the shiny top layer with a 180–240 grit nail file. Do not file too deep.
- Protect Skin and Workspace: Apply petroleum jelly or cuticle oil around each nail to shield skin from acetone. Work in a ventilated area.
- Soak Cotton Pads: Saturate small cotton pads (not balls) in pure acetone.
- Apply Nail Foil Wraps: Place the acetone-soaked pad on each nail and wrap tightly with foil wraps. Wait 10–20 minutes for soak-off gel nails, or check every 5 minutes.
- Gently Push Off Gel: Use a wooden or silicone nail pusher, not metal, to gently nudge softened gel off the nail. Never force—if it won’t budge, re-wrap and soak longer.
- Wash Hands, Hydrate: Wash away acetone, dry thoroughly, and apply cuticle oil or thick moisturizer.
- Disposal: Discard used cotton, foil, and acetone safely away from children and pets.
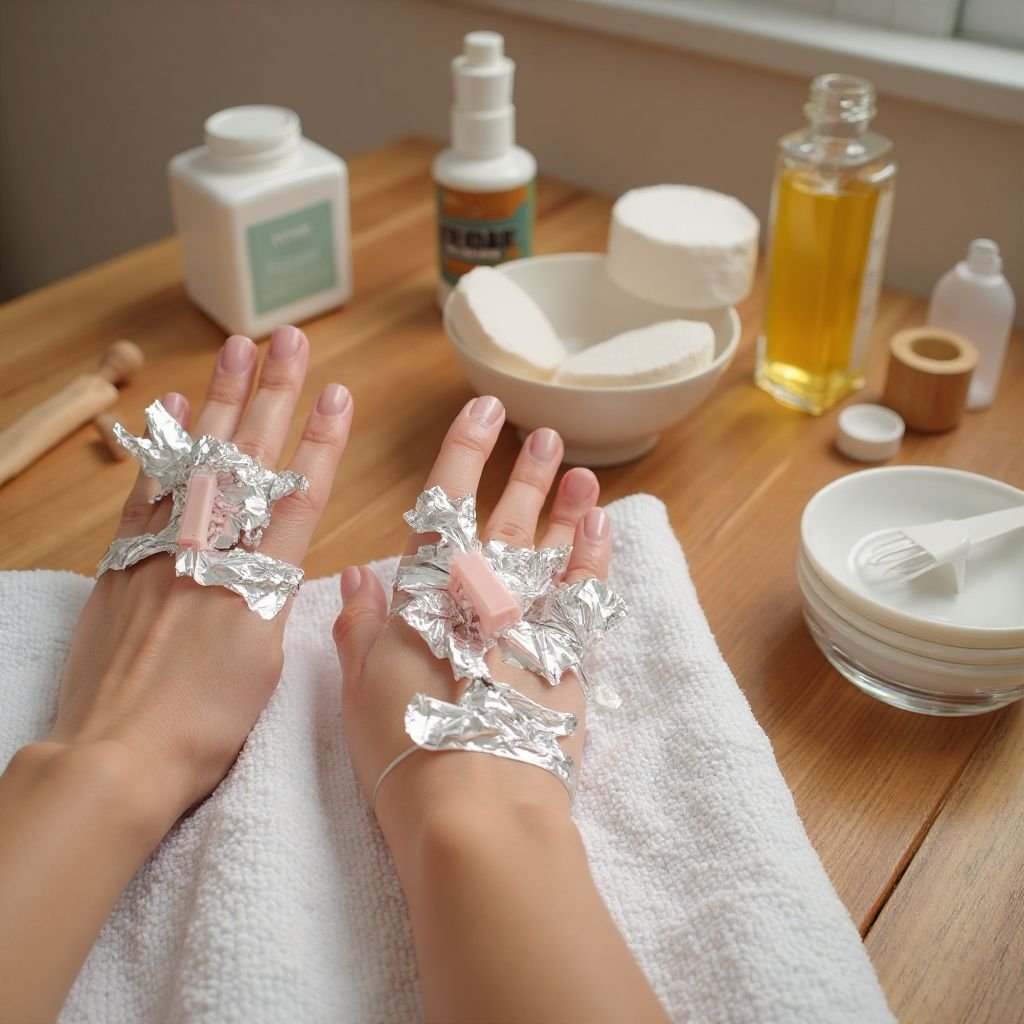
“Remover kits (acetone + wraps) minimize scraping damage compared to manual peel but still involve acetone drying.” [Research Source]
For details on beginner-friendly soak-off kits, see best gel nail kit for beginners.
Step-by-step: Using a gel nail remover kit or foil wraps
What’s in a kit? High-quality kits include pure acetone, pre-cut foil wraps (sometimes latex tape), lint-free cotton pads, a wooden cuticle pusher, a soft buffer file (180–240 grit), and cuticle oil. Some add a finger-guard or silicone soak caps for less mess.
- Prep as above: File, protect skin, ventilate area.
- Saturate cotton, place on nail, wrap securely with foil or use silicone caps.
- Allow to soak for 10–20 minutes. Do not peek until time is up.
- Use wooden stick to gently roll off gel—don’t push if it resists.
- Buff any residue very lightly, moisturize after.
“Highly rated kits include pure acetone remover, latex/nail tape or foil wraps, cotton pads/balls, wooden/nail pusher sticks, buffer/file (180–240 grit), and cuticle oil.” [Source] Most budget kits cost $6–$15 in 2024. See more options in GlamThera’s Product review page.
Step-by-step: Peel-off gels — how to remove them safely
Only use this for peel-off gel formulas. If you used a regular or hard gel, never try to peel it away manually.
- Soak nails in warm, soapy water for at least 10 minutes to soften the bond.
- Gently lift the edge with an orange stick—if it doesn’t lift easily, stop and switch to soak-off.
- If needed, use a fine nail file on the edge (never over the nail plate) to loosen, then try again.
- Buff and moisturize after removal.
Manual peeling “removes nail plate fragments, causing weakness and thinning.” [Source] Only proceed if your nails are healthy and gel comes off with no force. When in doubt, see best nail file for natural nails for gentle options.
Acetone-free and gentle alternatives — what works and what’s hype
Non-acetone removers and DIY options (like olive/coconut oil or dish soap soaks) are less abrasive, but typically far slower and less effective for salon-style gel polish. “Non-acetone removers exist but are less effective/slower; some products (e.g., Green Flash claims rapid removal) show promising claims but there is limited lab/user data to verify widespread effectiveness.” [Source]
Use these only if you have extremely thin or sensitive nails, and expect repeated attempts. If you need an acetone-free remover recommendation for sensitive skin, see best nail polish remover for sensitive skin.
Comparison: efficiency vs nail health
The trade-off between speed and nail protection is key. Here’s how the main methods stack up:
| Method | Time to Remove | Damage Risk | Best For |
|---|---|---|---|
| Soak-off with Acetone | 10–20 min | Moderate (dryness brittleness) | Most gel types, not for very brittle nails |
| Remover Kit/Foil Wraps | 15–20 min | Less than manual peeling | First-timers, minimizing scraping |
| Peel-Off Gel | 3–8 min | Highest (stripping nail plate) | Special peel-off gel only |
| Acetone-Free Remover | 20–40+ min | Lowest chemical risk but weakest | Thinnest nails, acetone intolerance |
If you’re worried about nail conditioning, see best nail growth serum for damaged nails for recovery options.
Tools, supplies and what good gel nail remover kits include — plus 2024 price expectations
The essentials for safe gel nail removal are basic and surprisingly affordable:
- 100% pure acetone (not regular polish remover)
- Cotton pads (lint free are best)
- Foil wraps or pre-cut nail foils (or silicone soak caps)
- Wooden cuticle stick or silicone nail pusher (avoid metal tools)
- Soft buffer/file (180–240 grit)
- Cuticle oil or thick hand cream
- Latex tape or barrier cream (optional, to protect skin)
Basic kits cost ~$6–$15 USD; some full-featured pro kits can cost $30+. You can find top-rated picks in the GlamThera Product review page.
Risks and common complaints — what can go wrong (and how to avoid it)
Acetone: Dryness, cracked nails, irritant contact dermatitis (red, itchy, peeling skin). Always limit soak time and hydrate after.
Peel-off/manual removal: Strips layers of the nail plate—causes onychoschizia (splitting), white spots, ongoing brittleness.
Improper scraping: Risk of pushing too hard, breaking skin, causing infection. See a dermatologist if pain, pus, or persistent redness occurs.
These problems are well documented: “Common issues include irritant contact dermatitis (red, dry, itchy, inflamed skin), nail discoloration, dry cracked nails (onychoschizia), and potential infections from broken skin; manual peeling removes nail plate fragments, causing weakness and thinning.” [Research Source]
Aftercare to restore nail health (immediate and 2–4 week program)
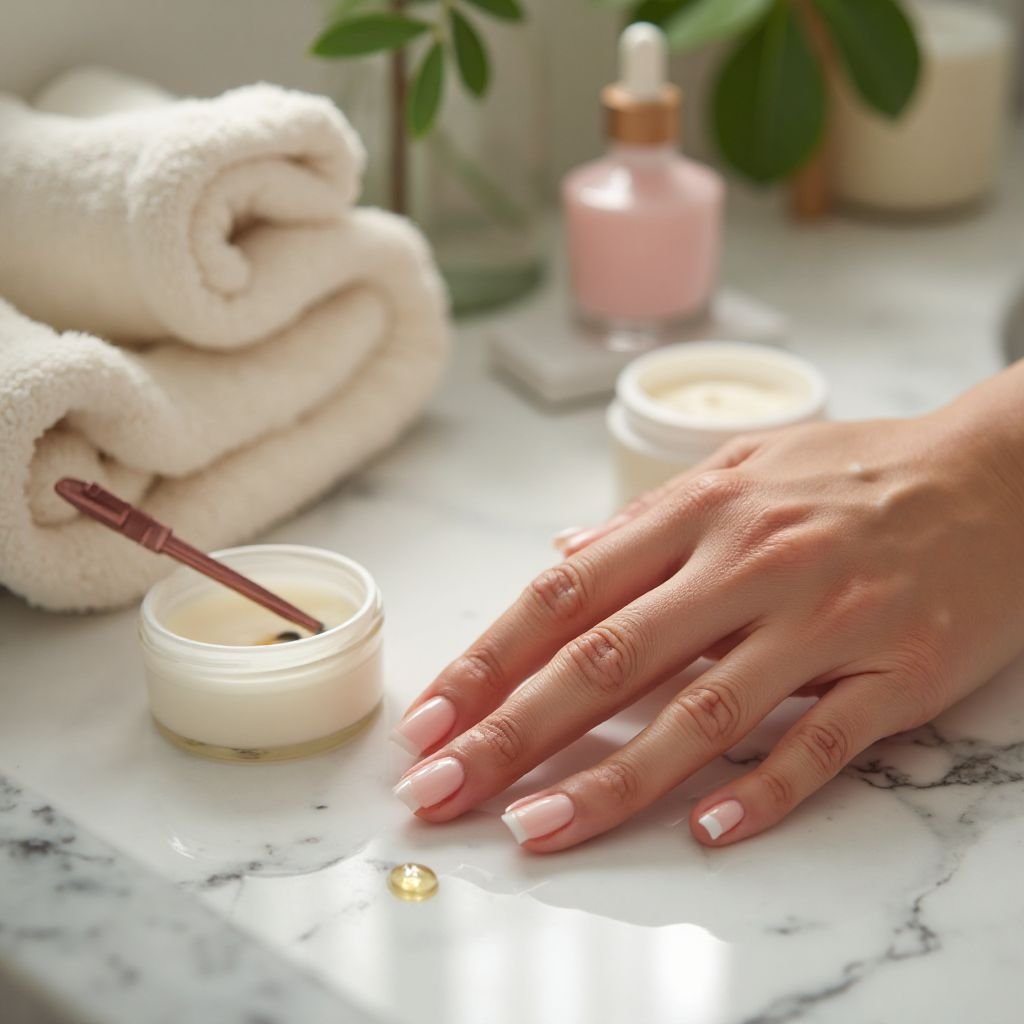
After any gel removal, nail hydration and protection are a must. Immediately after:
- Trim and gently buff rough edges; avoid filing nail surface.
- Saturate nails and cuticles with cuticle oil 2–3 times per day.
- Avoid polish or gels for at least 5–7 days—give nails time to recover.
- Wear gloves for chores, and use a rich hand cream nightly.
For ongoing repair: “Prolonged acetone soaking leads to brittle, peeling, and breakage-prone nails”—so stick to hydration and limit gel cycles. Biotin supplements and nail growth serums may speed recovery. See best nail strengthener for peeling nails for extra support.
Common mistakes to avoid (actionable dos and don’ts)
- Gather: acetone, foil wraps, cotton pads, pusher, buffer, cuticle oil.
- Always file the topcoat first, never the nail plate.
- Protect skin with barrier cream or tape.
- Never peel or force—stop if you feel resistance.
- Limit soak to 20 minutes; hydrate after.
- Watch for redness, pain, or swelling—see a pro if these appear.
- Don’t peel off gels without soaking—damages the nail plate (Source: see clinical research and above checklist).
- Avoid aggressive scraping after soak. If it won’t come off, soak again.
- Never reapply gel immediately—let nails fully rehydrate.
- Don’t skip moisturizer or cuticle oil after removal.
When to stop DIY and see a professional or dermatologist
If you notice pain, persistent discoloration, swelling, infection signs, or your nail plates look severely thinned, stop self-removal and consult a pro. “Potential infections from broken skin” and “irritant contact dermatitis” are reasons to seek professional advice. A professional can safely remove remaining gel and treat any complications. For alternatives, you can explore best press on nails for short nails or best nail wraps for beginners.
What top-ranking how‑to articles miss (3 specific gaps you must cover)
- Timing and Safety Margin: Many guides skip precise timing for acetone exposure and skin protection—always cap soaks at 20 minutes, and apply barrier cream.
- Damage Risk Comparison: Few sites objectively outline when to switch from peel-off to soak, or how much more damaging manual peeling is. Always reassess if gel resists.
- Shopping List and Disposal: Few cover a realistic, affordable kit shopping list and tips for safely disposing of acetone/used wraps (keep away from heat and children).
No reliable data found for the percentage of people experiencing nail damage after attempting to remove gel nails at home. This makes comprehensive safety-first guides even more essential—don’t rely on shortcuts.
FAQ
Removing gel polish at home is possible with care—prioritize your nail health over speed, choose the right tools, and don’t hesitate to consult a professional if something feels wrong. By following these steps on how to remove gel nails at home without damage, you’ll minimize risk and keep your natural nails looking strong.
Ready for healthier nails? Explore more expert tips and product picks across our nail care reviews.
Can you reuse nail foil wraps for gel removal?
No, foil wraps and cotton pads should be used once for hygienic reasons and best results—reuse risks spreading residue or bacteria.
Do acetone-free removers work for hard gel or builder gel?
Not effectively. Acetone-free removers work better on soft/peel-off gels, but are too gentle for hard/builder gels. Stick with acetone for tough gels or seek professional help.
Is it safe to file off gel instead of soaking?
No, filing off gel manually risks thinning and burning the natural nail. Always use soaking methods for safe gel nail removal.
What signs mean you should stop and see a pro?
Persistent pain, swelling, discoloration, or cuts/infections after gel removal are red flags. If anything feels wrong, book a dermatology or nail tech appointment immediately.
How long should you wait before reapplying gel polish?
Wait at least 5–7 days, moisturize daily, and monitor your nail health. If nails feel dry or thin, extend the break.